

Installing an electrical outlet may seem intimidating, but with the right guidance, it is a manageable task. This step-by-step guide will walk you through wiring a new outlet safely, ensuring that your home or workspace remains secure and functional.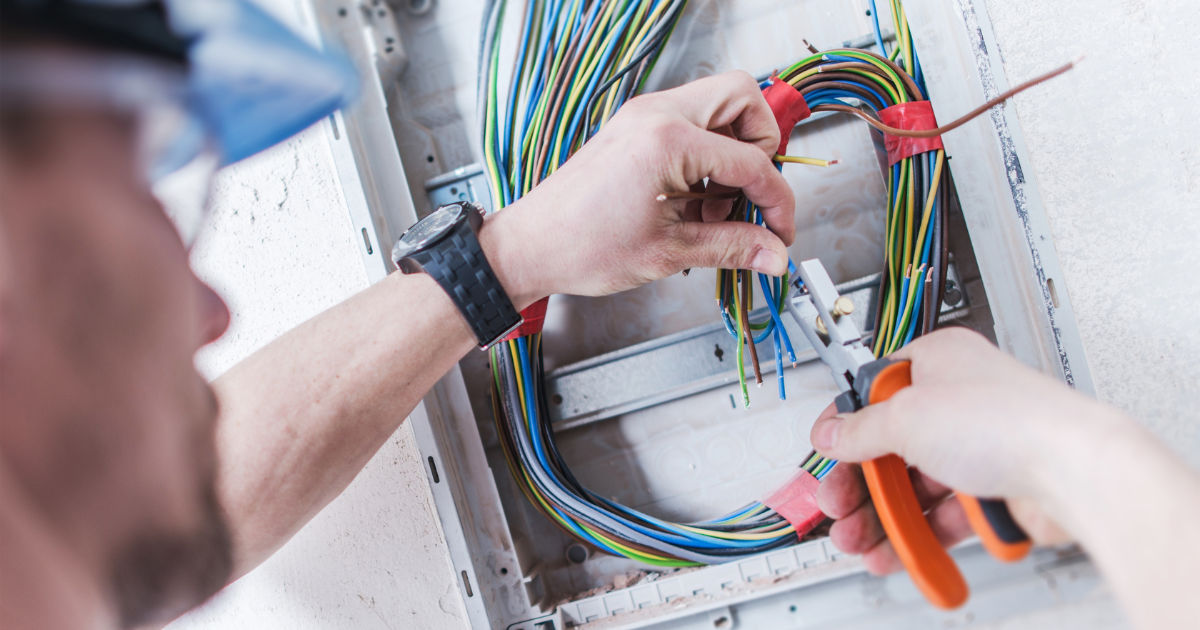
Understanding basic electrical principles and taking proper precautions is essential before starting this project.
This guide provides a step-by-step approach to planning new wiring for renovation projects, from understanding basic electrical concepts to implementing a safe and efficient wiring system, as outlined byPowerLink Co Pakistan.
Understanding Electrical Safety
Before diving into wiring a new outlet, safety must be your top priority. Electricity is dangerous, and even a small mistake can cause severe injuries or property damage.
Safety Equipment You Will Need
-
Insulated gloves: Protect your hands from accidental shocks.
-
Safety glasses: Shield your eyes from sparks or debris.
-
Voltage tester: Essential to ensure wires are not live.
-
Insulated screwdriver and pliers: Reduces the risk of electrical accidents.
-
Circuit breaker lock or warning tag: Helps prevent others from accidentally turning the power back on.
Turn Off the Power
Before touching any wires, turn off the power at the main circuit breaker. Confirm the power is off using a voltage tester. Test both the outlet you are replacing (if any) and the new wiring area.
Tools and Materials Needed for Wiring a New Outlet
To successfully wire a new outlet, gather the following tools and materials:
-
Electrical box: For mounting the outlet securely.
-
Outlet (receptacle): Standard 120V or 220V depending on your region.
-
Romex or other approved electrical cable: Usually 12/2 or 14/2 wire for standard outlets.
-
Wire strippers: To remove insulation safely.
-
Screws and anchors: For mounting the electrical box.
-
Electrical tape: For added wire safety.
-
Wire nuts: To join wires securely.
Having all your tools and materials ready before starting will make the process smoother and safer.
Planning the Outlet Installation
Proper planning is critical when wiring a new outlet.
Choosing the Right Location
-
Select a spot with easy access.
-
Ensure the outlet is near where you need electricity.
-
Avoid areas with moisture, unless installing a GFCI outlet for safety.
Checking Existing Wiring
Before installing, inspect the existing wiring. Ensure there is enough capacity in the circuit to handle the additional outlet. Overloading a circuit can cause fires or damage appliances.
Step 1: Install the Electrical Box
-
Mark the location: Use a pencil to mark where the outlet will go.
-
Cut the wall: Use a drywall saw to make an opening slightly larger than the electrical box.
-
Insert the box: Push the electrical box into the opening.
-
Secure the box: Use screws or built-in clamps to hold it in place.
A securely mounted box prevents movement, which can loosen connections over time and cause hazards.
Step 2: Run Electrical Wire
Next, run the electrical cable from the power source to the new outlet location.
-
Determine the route: Measure the distance from the breaker panel or nearest outlet.
-
Drill holes if needed: For running wire through studs or flooring.
-
Feed the wire: Leave extra length at both ends (about 6 inches) for connections.
Use staples or clips to secure the wire along studs or walls. Avoid sharp bends that could damage the cable.
Step 3: Strip and Prepare Wires
Before connecting to the outlet:
-
Remove insulation: Use wire strippers to expose about ¾ inch of copper at each wire end.
-
Inspect wires: Ensure there are no nicks or cuts in the copper.
-
Twist stranded wires: If using stranded wire, twist the strands together for a clean connection.
Proper wire preparation is crucial for a secure and safe connection.
Step 4: Identify Wires
In most standard outlets, you will encounter three types of wires:
-
Black (hot) wire: Carries current from the breaker.
-
White (neutral) wire: Returns current to the panel.
-
Green or bare (ground) wire: Provides a safety path to prevent shocks.
Always double-check wire colors, as some older homes may use different wiring standards.
Step 5: Connect the Wires to the Outlet
-
Connect the ground wire: Loop the green or bare wire around the green screw on the outlet and tighten it securely.
-
Connect the neutral wire: Attach the white wire to the silver screw.
-
Connect the hot wire: Attach the black wire to the brass screw.
Ensure all connections are tight, but avoid over-tightening, which can damage the screws or strip the wire.
Step 6: Secure the Outlet and Cover
-
Push wires into the box carefully: Avoid pinching or bending wires sharply.
-
Mount the outlet: Screw it into the electrical box firmly.
-
Attach the cover plate: This protects wires and provides a finished look.
A properly installed outlet should sit flush with the wall and feel solid when gently tugged.
Step 7: Test the Outlet
Testing ensures your work is safe and functional.
-
Turn on the power: Flip the breaker back on.
-
Use a voltage tester or plug in a device: Confirm that the outlet is delivering power.
-
Check for proper grounding: Use a tester to ensure the outlet is properly grounded.
Never skip testing—this step verifies both safety and function.
Step 8: Troubleshooting Common Problems
Even with careful work, issues may arise. Here are common problems and solutions:
-
Outlet not working: Check connections, ensure the breaker is on, and verify the wire from the source is live.
-
Loose outlet: Ensure screws are tight and the box is secure.
-
Tripped breaker: The circuit may be overloaded. Verify the load on the circuit and wire gauge.
Tips for Safe Wiring Practices
-
Always follow local electrical codes.
-
Use a dedicated circuit for high-power appliances.
-
Do not overload outlets with too many devices.
-
Label breakers for easy identification in the future.
Following these tips ensures long-term safety and reduces the risk of fire hazards.
Optional: Installing a GFCI Outlet
In areas prone to moisture like kitchens or bathrooms, a GFCI (Ground Fault Circuit Interrupter) outlet is recommended. GFCI outlets cut power immediately if a ground fault is detected.
-
Connect wires as usual.
-
Attach line wires to the “Line” terminals.
-
Attach load wires if extending protection to other outlets.
-
Test using the “Test” button before use.
This adds an extra layer of safety, preventing electric shocks.
Conclusion
Wiring a new outlet may seem complicated, but by following this step-by-step guide, it becomes a manageable and safe task. From understanding electrical safety to installing the outlet and testing it, each step ensures that your new installation is both functional and secure.
Remember, preparation, careful planning, and proper tools are key. Always double-check your work, follow local codes, and never rush the process. A properly installed outlet not only improves convenience in your home but also maintains safety for you and your family.
By mastering the process of wiring a new outlet, you gain confidence in handling basic electrical projects, saving money on professional installation, and improving your home’s electrical functionality.